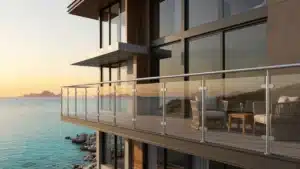


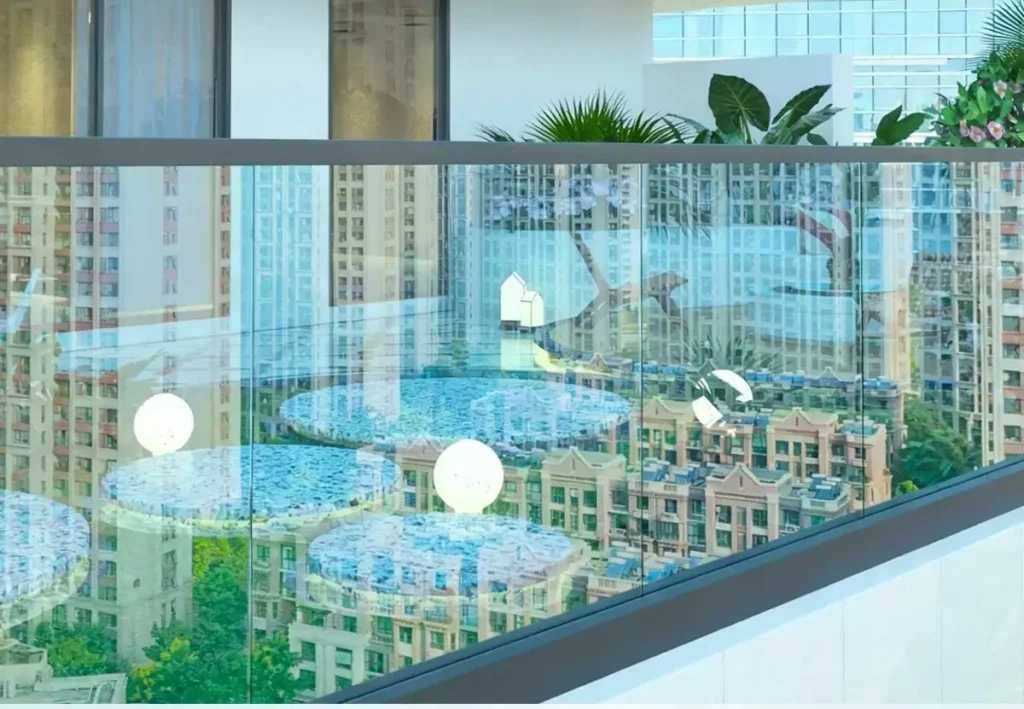
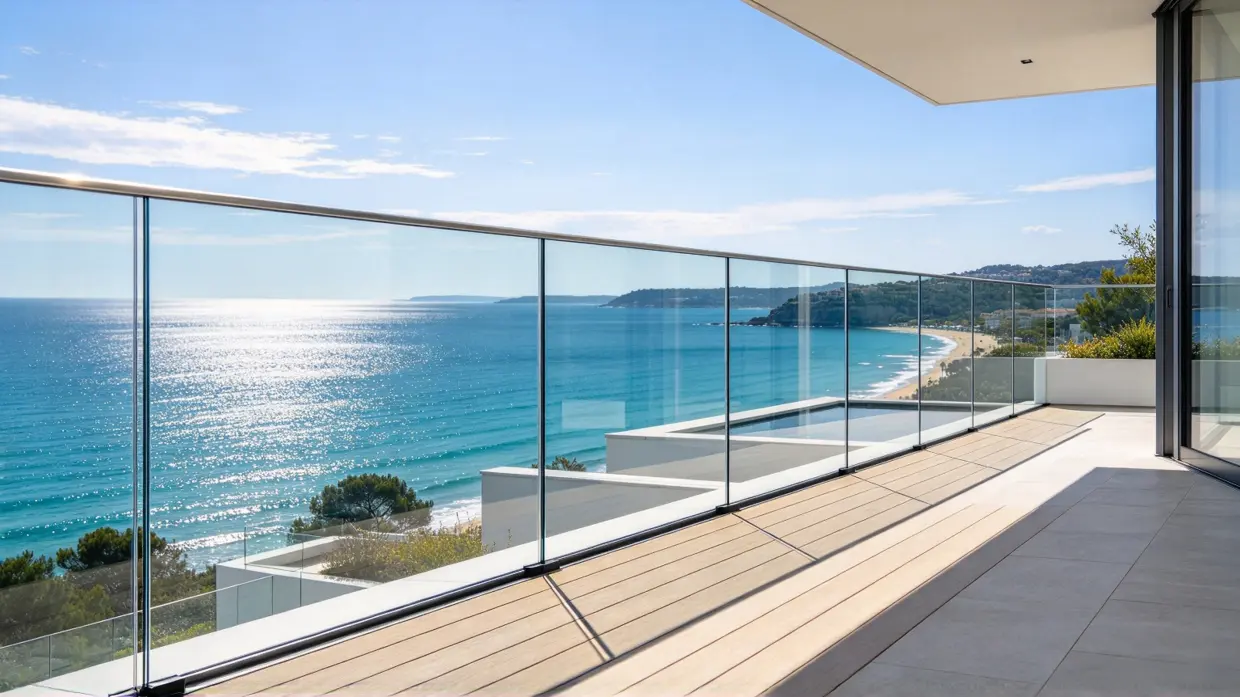
Installing a frameless glass railing is a highly rewarding DIY project that transforms any space with unobstructed views. A successful frameless glass railing installation requires a comprehensive, step-by-step process using an aluminum base shoe system, especially when considering the critical safety and regional code checks across the US, EU, Australia, and the Middle East.
Tools and Materials Needed for Frameless Glass Railing Installation
Before starting, gather all necessary tools. DIY tip: Renting specialized equipment, like a core drill, is often more cost-effective than purchasing, which helps lower your overall glass railing cost
Essential Power Tools
- Laser Level: Essential for DIYers To ensure the base channel is perfectly straight.
- Rotary Hammer Drill: For drilling into concrete substrates.
- Angle Grinder (optional): For cutting cover plates.
Hand Tools and Safety Gear
- Heavy-Duty Suction Cups: Essential for lifting and positioning glass safely. (Crucial for DIY, as large panels require at least two people).
- Socket Wrench / Ratchet: For securely tightening the expansion bolts and side clamps.
- Caulking Gun: For applying weather-resistant structural sealant.
- Safety Glasses and Gloves: Mandatory for handling glass and drilling to comply with OSHA safety standards.
Materials Checklist
Below is the standard material list for a base shoe installation.
| Matériel | Function | Regional Note |
|---|---|---|
| Aluminum Base Shoe | Structural U-channel anchor | Must be 6063-T5 aluminum |
| Tempered Glass Panels | Safety barrier | Factory pre-drilled only |
| Rubber Gaskets & Setting Blocks | Prevents glass-to-metal contact (bottom & sides) | UV-resistant EPDM |
| Expansion Bolts | Anchors channel to concrete | 316 Stainless for coastal (AU/SEA) |
| Silicone Sealant | Waterproofs the glass gap | High-temp rated for Middle East |
Before You Start: Safety and Regional Code Checks
Do not skip this critical step. A beautiful frameless glass railing installation is useless if it fails inspection. Since you are doing this DIY, it’s crucial to verify if your local municipality requires a permit or specific minimum heights. (For a deep dive into specific code numbers, check our dedicated guardrail height requirements guide).
US & EU: Load Codes vs. AU & Middle East: Environment
In the US (IBC/IRC) and EU (EN 1991), focus on load-bearing compliance. However, in Australia and Southeast Asia (like Malaysia), salt spray and high humidity are major factors. For these regions, you must use marine-grade 316 stainless steel for all internal hardware to prevent rapid rusting. If installing in the Middle East (UAE), balconies often require taller glass (1,200 mm), meaning heavier panels that might push the limits of what a standard DIYer can lift safely.
Step 1: Surface Preparation for Frameless Glass Railing Installation
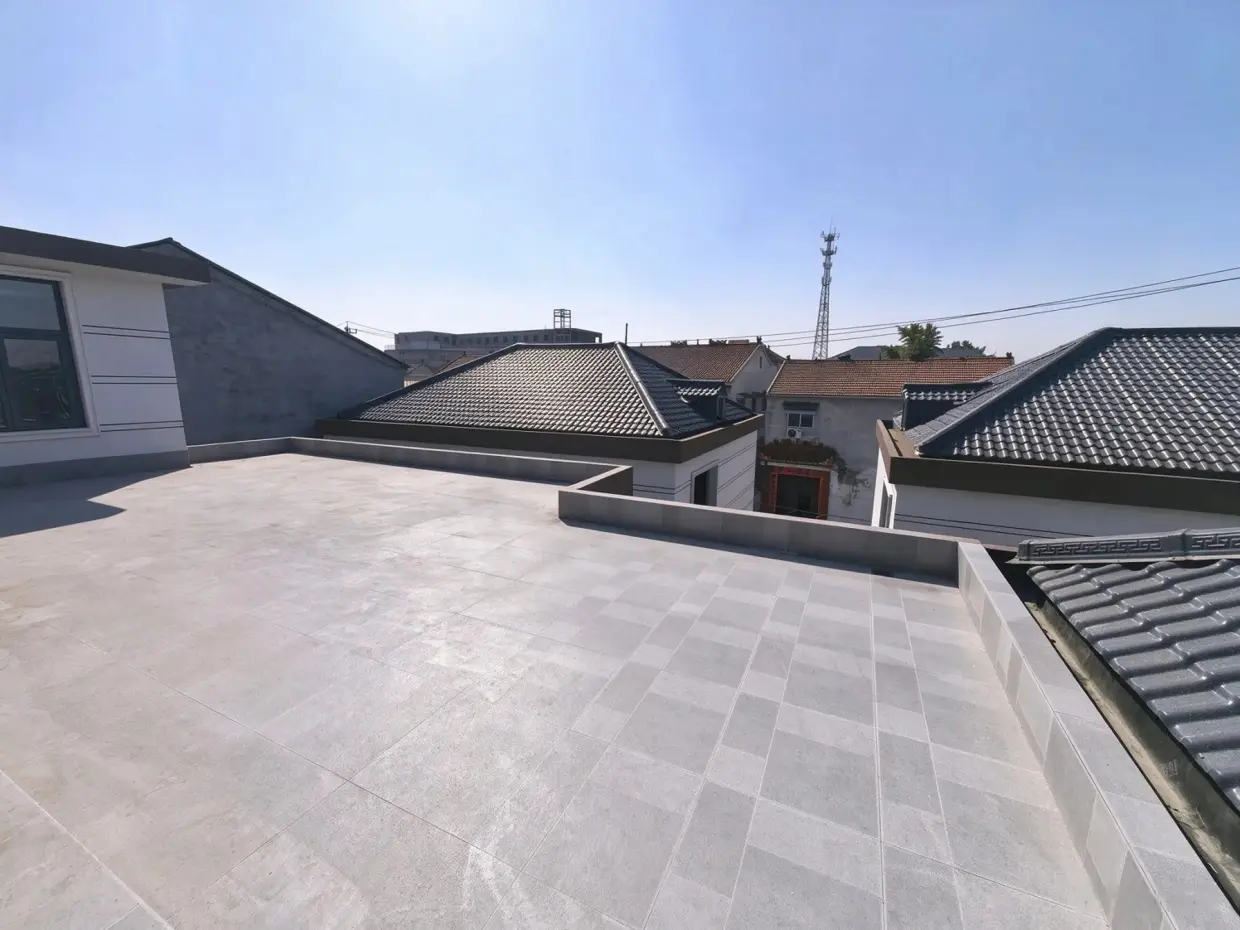
The concrete substrate must be structurally sound and clean. Furthermore, the substrate must be level within 3 mm (1/8 inch) over the entire run. **For example**, if the surface is uneven, the glass panels will not align, and the base will look crooked. Therefore, sweep away all dust and debris before starting.If installing on a roof deck, verify that drilling will not compromise the waterproof membrane.
Step 2: Aligning and Anchoring the Base Channel for Frameless Glass Railing Installation
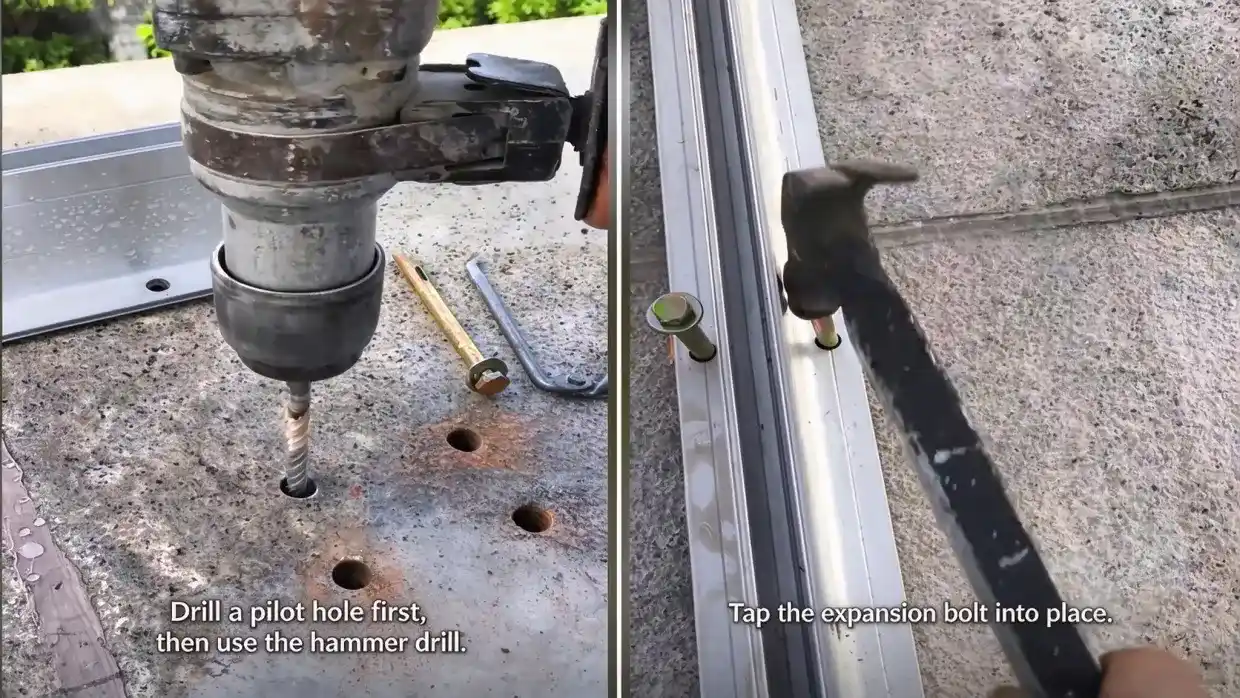
Proper alignment ensures the glass sits perfectly straight. First, place the aluminum base shoe along your marked line and use a laser level to confirm it is perfectly straight. Then, mark the hole locations for the expansion bolts. Remove the channel and drill the holes. Because leaving dust in the hole will prevent the bolts from gripping tightly, vacuum out the dust thoroughly. Reposition the channel and tighten the expansion bolts securely. However, do not over-tighten to the point of stripping the bolt threads.
Step 3: Setting and Adjusting the Glass Panels
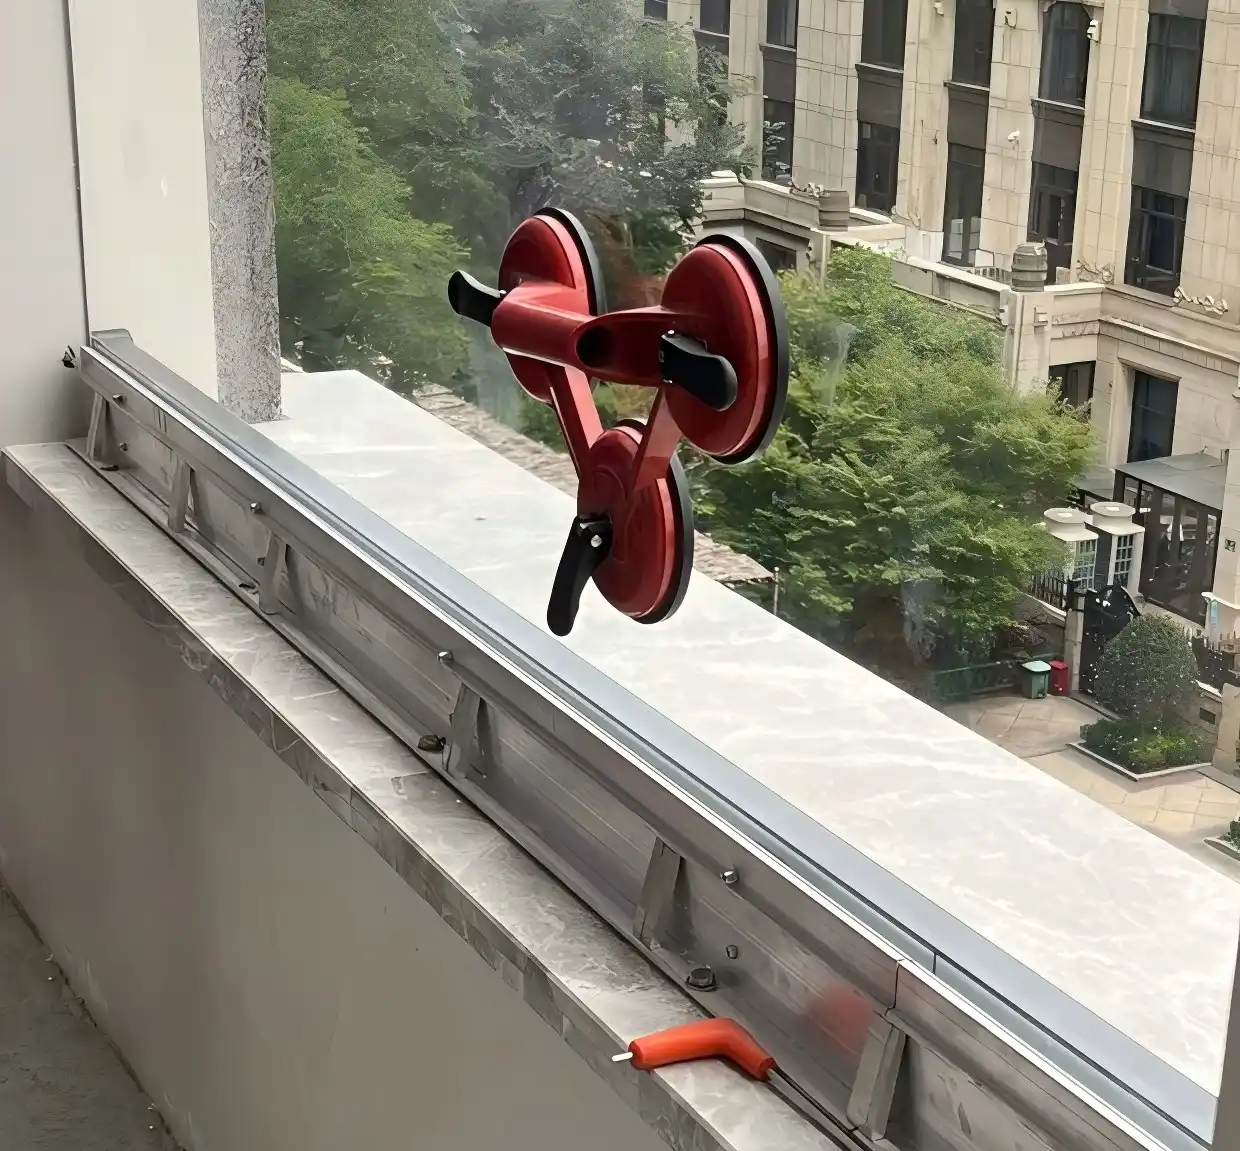
Because this is strictly a two-person job, never attempt to lift large glass panels alone. Before placing the glass, insert the continuous rubber gasket into the base shoe along the entire run. This crucial step prevents the glass from directly touching the metal base. Attach heavy-duty suction cups to the glass panel. With a helper, lift the glass and lower it gently into the channel until it rests fully on the setting blocks. Finally, insert the side gaskets and secure the side clamps.
Adjusting Clamps for Local Wind Loads
In high-wind areas like Middle Eastern high-rises or coastal zones, securing the glass is critical. DIY Warning: Manufacturers rarely provide exact torque specs; most rely on “experience.” Your goal is to apply even, firm pressure to prevent slipping without crushing the glass. Tighten the clamps incrementally, alternating sides.
Step 4: Sealing and Finishing Your Frameless Glass Railing Installation
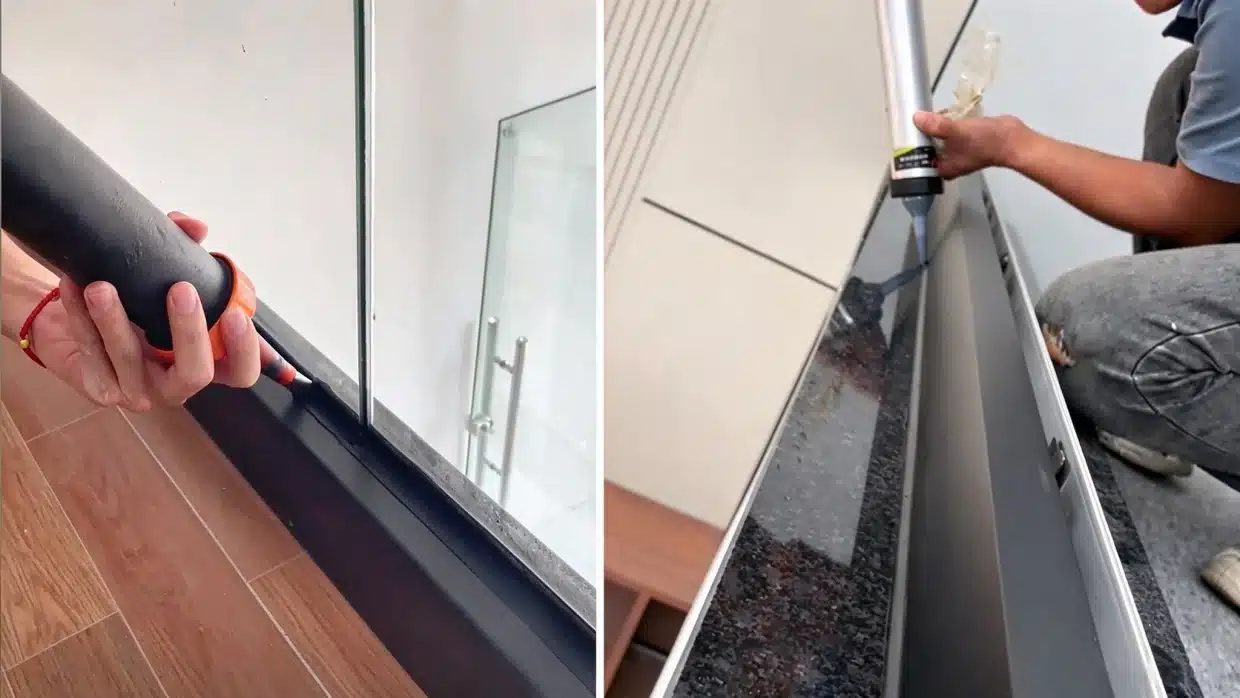
Unlike old-fashioned systems that rely on drainage holes, modern high-quality base shoes use a fully sealed design.
-
Ensure the glass is perfectly aligned and all clamps are tight. First, snap or screw the aluminum cover plates into place.
-
Finally, seal the gap between the glass and the top of the cover plate. Apply a continuous bead of weather-resistant silicone sealant using a caulking gun. (Note: If your specific system was factory-supplied with a dedicated waterproof rubber gasket, ensure it is properly inserted before final sealing). This creates a 100% waterproof barrier.
Common Frameless Glass Railing Installation Mistakes to Avoid
Based on our factory experience, DIYers frequently make these errors:
- Missing Bottom Gasket: Since the glass must not touch the metal directly, failing to pre-install the continuous rubber gasket at the bottom of the channel will cause severe localized stress. Consequently, this will lead to spontaneous glass shattering once the panels are set and clamped.
- Drilling Glass On-Site: TTempered glass cannot be drilled due to strict ASTM E2353 standard. Therefore, all hardware holes must be precisely factory-made before delivery.
- Improper Clamp Tension: Parce que manufacturers rarely provide exact torque specs, overtightening the side clamps out of fear of slipping can create severe stress points, leading to spontaneous glass shattering. Par conséquent, installers must rely on experience to apply firm, even pressure without crushing the glass.
FAQ: Frameless Glass Railing Installation
Q: Can I install frameless glass railing myself?
A:Yes, if you have the right tools like a core drill and laser level. However, handling large glass panels (especially 1,200mm tall panels in the Middle East) requires at least two people.
Q: How long does it take to install a glass railing?
A:For a standard 20-foot (6-meter) residential base shoe system, a DIY installation typically takes a full weekend (12-16 hours) for two people, including surface preparation and sealing.
Q:Do all glass railing systems come with waterproof sealing strips (gaskets)?
A:No, not all aluminum base shoes are designed for or supplied with waterproof sealing strips. Because this significantly affects the system’s water resistance, you must consult the manufacturer to confirm if your specific model includes them before purchasing.
Q: Do I need a permit to install glass railing?
A:Permit requirements vary globally. In the US and EU, replacing an existing railing may not require a permit, but in Australia (NCC) and the Middle East (Dubai Code), strict inspections apply. Always verify locally before you start drilling.
Q: Can I drill holes in the glass on-site?
A:Absolutely not. All glass panels must be tempered and fabricated (drilled/cut) at the factory. Any on-site drilling will cause the tempered glass to shatter instantly.
Conclusion
In conclusion, completing a frameless glass railing installation requires precision and the right tools. Ultimately, by ensuring a level surface, selecting marine-grade hardware for coastal areas, and properly sealing the base shoe, you can ensure a durable, code-compliant installation. Cependant, if you are ever unsure about load requirements or structural integrity, always consult a professional.
Ensure your project’s success with premium materials. Backed by precision manufacturing equipment and rigorous quality control, Meizstairs provides high-quality base shoe systems and custom glass panels tailored to international standards (US, EU, AU, Middle East). Don’t let missing parts delay your build. Contact us today for a quote!